Colosseum: All Four Leagues and 20 Battles
Clear all 20 Colosseum battles from Fledgling through Champion with enemy-specific mechanics, first-clear rewards and links to the five hardest endgame fights.
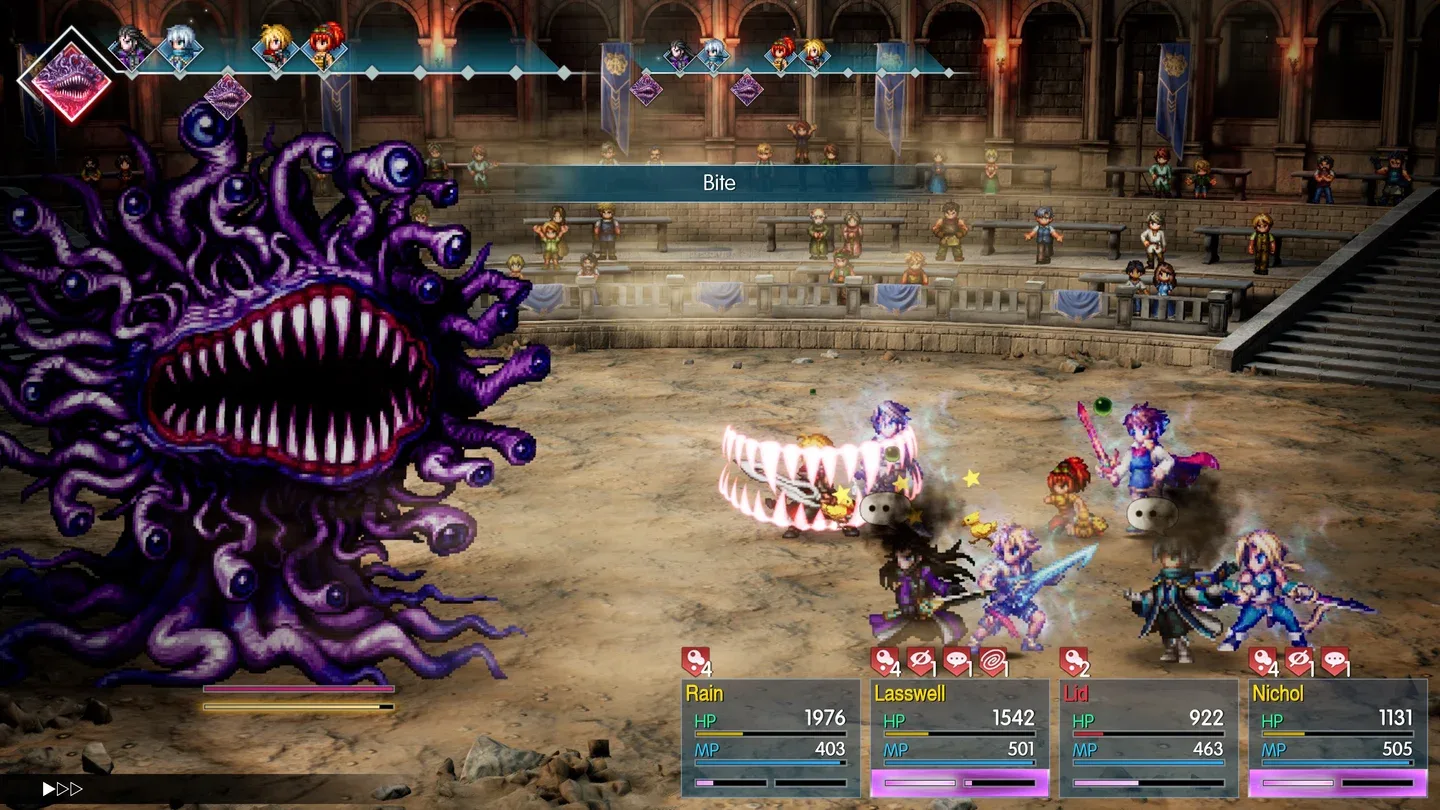
All four leagues, twenty battle slots, access conditions, selected mechanics and first-clear rewards. Source-reviewed; exact enemy statistics, patch-specific builds and independent clears remain unverified.
On this page
All four leaguesWhen does the Colosseum open?What carries between arena battles?Which leagues count toward trophies?Build one adaptable arena formationSources & reviewWhen does the Colosseum open?
Reach Zoldaad during chapter 4, then travel to the Colosseum west of Grandshelt. Complete each five-battle league in order: Fledgling, Brawler, Gladiator and Champion. The Champion registration appears after Gladiator is cleared; reaching the building alone does not skip the earlier leagues.
The recommended ranges below describe the route from level 25 to 99. Individual enemies can sit above the displayed entry recommendation, so treat it as a warning, not a promise of equal enemy levels or an automatic clear.
What carries between arena battles?
Each numbered battle is a separate entry. You can change equipment, Visions and formation before the next one. Colosseum enemies do not award normal EXP or gil. First clears award the equipment or material shown in the roadmap; later wins award the league’s repeat consumable.
Fleeing is possible, but it records a loss. That is different from the Dragon’s Maw cave route, where escape is unavailable. Save before testing an unfamiliar endgame formation rather than assuming the two locations share rules.
Which leagues count toward trophies?
The published PS5 list has completion trophies for Fledgling, Brawler and Gladiator. Champion is still valuable for its endgame equipment, but it is not an extra named arena trophy and Omega has no dedicated trophy entry. Do not add Champion to a platinum checklist as an invented requirement.
Build one adaptable arena formation
Carry more than one damage element, a non-elemental option, ailment prevention, buff removal and recovery that does not depend on a single character. Brawler 4 absorbs all eight elements; Death Machine changes its elemental shield; Omega punishes careless repetition. No one fixed rotation answers all twenty battles.
The roadmap keeps the preparation art honest: the pictured character is a useful planning prompt, not a required entrant and not an image of the listed enemy. Enemy-specific pages are linked where the public evidence supports a fuller standalone guide.
20 of 20 battles shown
25–32 recommended
Fledgling League
Reach Zoldaad in chapter 4, then visit western Grandshelt. Rain · preparation artwork, not a required party member
- 1
Fledgling 1
Wyvern, Magma Tortoise & Coeurl
Read the three enemy affinities before committing an all-target attack. Keep recovery available while bringing all gauges toward a shared break.
First clearMagicite Shard - 2
Fledgling 2
Chimera
This is the league’s lone duel. Focus the whole formation on one gauge, then use its break as a damage window instead of spreading actions across imaginary escorts.
First clearAdamantite - 3
Fledgling 3
Balaurs, Simurgh & Blood Worm
Several enemies share the ring. Inspect each target; coordinate a sweeping Stagger rather than defeating one while the others interrupt your support.
First clearAncient Greatsword - 4
Fledgling 4
Ice Lizard, Gray Bomb & Lieutenant
Recheck each enemy instead of carrying over the previous match’s elemental queue. Heal before spending the actions needed for a shared break.
First clearMagicite Shard - 5
Fledgling 5
Allosaur, Ice Sculpture & Ahriman
Prepare for another mixed group. Clear the match, claim the Gaia Hammer, and use it at the Sealing Stone if Titan is your next goal.
First clearGaia Hammer
40–48 recommended
Brawler League
Clear all five Fledgling battles. Lid · preparation artwork, not a required party member
- 1
Brawler 1
Wild Maneuverer & Dark Fang
Bring Fire for the Maneuverer and Wind for Dark Fang. Do not assume the same element breaks both before their devastating warnings.
First clearMagicite - 2
Brawler 2
Chaos Dragon & Hexadragon
Light works against both; Lightning and Earth answer different targets. Protect recovery from Confusion and Berserk before you commit the damage sequence.
First clearAdamantite - 3
Brawler 3
Ochu & Microchu
Use Earth and remove the small enemies before their support escalates. Check for replacement Microchu; the opening pair is not the only brood you may face.
First clearAdamantite - 4
Brawler 4
Flan Princess group
Use non-elemental damage: these enemies absorb all eight elements. Recheck any elemental weapon, Vision follow-up or automatic action before using an all-target sequence.
First clearMagicite - 5
Brawler 5
Elemental waves
Inspect each elemental separately, then prepare again when the next wave appears. Keep resources for the second group rather than treating the first wave’s last KO as the finish.
First clearAncient Cuirass
55–70 recommended
Gladiator League
Clear all five Brawler battles. Sakura · preparation artwork, not a required party member
- 1
Gladiator 1
Zone Eater
Use Wind or Light. A swallowed ally is temporarily unavailable, so assign backup healing; avoid Earth and Dark, which heal the enemy.
First clearMagicite Cryst - 2
Gladiator 2
Hidon
Use Fire or Light and reserve an interrupt for Meteor or Disaster. Prepare to cure disabling ailments and revive a character lost to Doom.
First clearReflect Ring - 3
Gladiator 3
Donchu
Use Earth and treat the countdown as urgent. Do not expect a swallowed ally to return as they do against Zone Eater; avoid Water and keep a finishing break in reach.
First clearBarrier Ring - 4
Gladiator 4
Death Machine
Rotate useful elements after it projects an elemental shield. Non-elemental attacks can provoke counters; carry ordinary Instant Death protection and inspect each new shield.
First clearProtect Ring - 5
Gladiator 5
Gargantuan Gigantuar
Fixed-damage needles require more than high defense. Interrupt the warned attack when possible, and prepare barriers or revival before the final hit because defeat also triggers a threat. Avoid Fire and Water.
First clearMagicite Cryst
75–99 recommended
Champion League
Clear Gladiator, then register with the Colosseum Master. Fina · preparation artwork, not a required party member
- 1
Champion 1
Malboro Queen
Prepare ailment prevention before entering. Fire is useful, but keep a second character able to cure or revive if the main healer is disabled.
First clearSuper Ribbon - 2
Champion 2
Holy Dragon
Do not use Light damage: the dragon absorbs it. Use another effective command and leave support actions for its major magic warnings.
First clearLorica Sancta - 3
Champion 3
Beast of Ruin
Use Fire, avoid Ice, answer Reflect and leave recovery before Stagger ends. Both physical and magic attacks can draw counters.
First clearLorica ApocalypticaFull battle guide → - 4
Champion 4
Shinryu
Prepare Water/Wind protection and inspect levels divisible by three. Avoid Water damage, then recover before its post-Stagger response.
First clearDragon SealFull battle guide → - 5
Champion 5
Omega
Use Lightning with another damaging element between repeated uses. Watch the Wave Cannon countdown and preserve recovery through counter mode.
First clearOmega BadgeFull battle guide →
No arena battles match. Clear the filters or try an enemy, reward or mechanic.
Sources & review
Sources checked on 26 October 2026. This is a source-based guide, not a claim of independent gameplay testing. A specific patch number has not been verified. Read our editorial policy.
- Game8 — Colosseum opening and league rewardsJapanese guide; selected access conditions and reward checks
- FF Resonance Wiki — selected league progression and encounter conditionsSelected factual comparison; original battle responses, no copied full stat/shop database
- FF Resonance Wiki — Gladiator mechanics comparisonSelected enemy traits and escape/defeat distinctions
- Game8 — Shinryu opening and recovery comparisonJapanese battle guide; opening Tidal Wave and post-break recovery
- Square Enix — game informationPublisher
Continue your journey
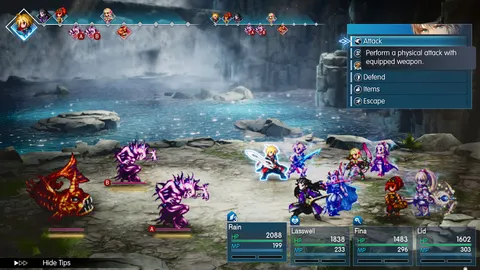
Combat & Stagger
Read the action timeline, compare HP and Stagger damage, understand Sweeping Stagger and choose the right moment for your Vision's Resonance.
Open guide
Trophies & roadmap
Plan a PS5 completion run and track 40 trophies with a checklist saved in your browser. Includes spoiler controls, filters, and backup import and export.
Open guide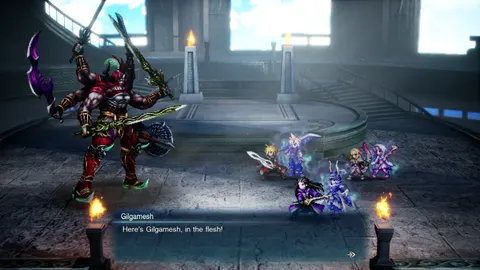
Boss guide hub
Find 66 encounter guides by story chapter, enemy, element or mechanic, including Cave Masters, Legendary Arms and the hardest Dragon’s Maw and Champion fights.
Open guide
Ultimate trials
Unlock all 12 Lv.75 Chamber of Arms rematches, meet the correct Lv.70 character condition, and prepare for each guardian to earn enhanced Legendary Arms.
Open guide