Chapter 8: Crystal Tower: Final Teleporter, Sol & Last Resonance
Climb Crystal Tower, handle Behemoth’s story opening, prepare for Sol and Dark Bahamut, and manage reserves during Chaotic Darkness’s finale.
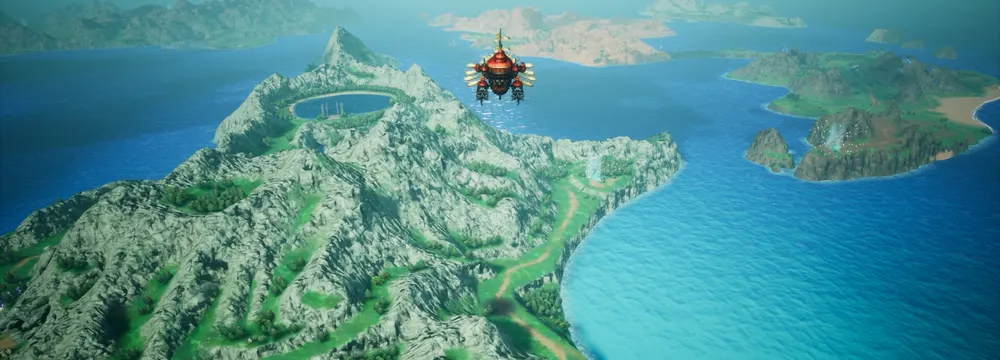
Official airship exploration scene; the final approach is a separate story objective. © SQUARE ENIX
- 01
Tower exterior
Approach by Enterprise and complete Sakura’s barrier-removal scene. The summit cannot be reached by simply flying above the tower.
Detailed guide → - 02
Lower ascent · connected platforms
Follow the ramps, stairs and teleporters. Check side branches before the final-entry warning.
Detailed guide → - 03
Behemoth
Let the story allies’ support resolve the opening protection, then exploit Wind or Light when damage becomes available.
Detailed guide → - 04
Final save → point of no return
Review reserves and Rain’s individual setup, then use the final teleporter only after completing desired cleanup.
Detailed guide → - 05
Sol & Dark Bahamut
Prepare Dark for Sol and Light for his summoned Dark Bahamut. Respond to the Megaflare warning and buff reactions.
Detailed guide → - 06
Chaotic Darkness → closing duel
Handle the hands and final story transition, use Last Resonance with reserve roles in mind, then complete Rain’s later solo confrontation.
Detailed guide →
Chapter-8 progression, required encounters and route conditions, with story spoilers. Optional item checks are selected; this is not a 100% chest map or a gameplay-tested route.
On this page
Progression routeHow do you enter Crystal Tower?Behemoth’s protected opening is a story conditionWhat should you do before the last teleporter?Sol, Dark Bahamut and the ending sequenceSources & reviewHow do you enter Crystal Tower?
Approach the outer wall aboard the Enterprise and complete Sakura’s story event. The barrier is removed by that sequence; it is not a missing shop key. The story also prevents solving the ascent by flying straight to the top.
Follow the connected crystal platforms, ramps and teleporters upward. When looking for the continuation, inspect visible connecting paths before assuming the bright crystal floor is impassable. This guide does not supply invented coordinates for every transparent bridge.
Behemoth’s protected opening is a story condition
The Behemoth encounter begins with protection that requires allied support. Let the intervention scenes advance before judging your damage plan. Once the real opening is available, use Wind or Light and keep recovery ready around Meteor. The Behemoth guide separates that opening from ordinary elemental resistance.
The tower also contains Dante encounters. A named field or event enemy is not automatically a separate final boss. The Sol guide explains his associated enemies without presenting an unrelated bestiary list as mandatory story gates.
What should you do before the last teleporter?
The final teleporter is the point of no return for this run into the ending. Make a manual save at the last available save point before committing. Finish desired side paths, purchases and equipment changes while you can still leave.
The Ancient Katana lies near a save point earlier in the tower; acquiring it and completing the Chamber of Arms are different objectives. The Arms directory records its restoration route. The shard checklist includes the tower’s remaining text landmarks without claiming a coordinate map.
Equip recovery and meaningful commands on the reserves as well as the active party. Also inspect Rain individually: a later story confrontation sends him into battle alone, so a team plan that depends entirely on Sakura’s Dark damage does not prepare his solo setup.
Sol, Dark Bahamut and the ending sequence
Use Dark against Sol, but prepare Light for Dark Bahamut and its Megaflare countdown. Those are different targets with different affinities. Sol also responds to widespread buffs, so apply support deliberately rather than filling every available buff slot by habit.
Continue to Chaotic Darkness. Its first apparent defeat leads into a story transition and the introduction of Last Resonance; it does not mean your game failed to register the victory. Handle the hands and preserve recovery through the remaining phase.
Last Resonance withdraws its user and brings in a reserve. Check who will replace the acting character before committing a healer. After the full-party finale, follow the escape and Rain’s final Sol confrontation to the ending; that solo scene is distinct from the earlier party battle.
Sources & review
Sources checked on 26 October 2026. This is a source-based guide, not a claim of independent gameplay testing. A specific patch number has not been verified. Read our editorial policy.
- Player Atlas — chapter 8 routeIndependent guide
- RPG Site — story walkthroughIndependent guide
- KeenGamer — eight-chapter story routeIndependent guide
- FF Resonance Wiki — sol encounter mechanicsIndependent guide; selected mechanics, not a copied stat database
- FF Resonance Wiki — Behemoth encounterIndependent guide
- FF Resonance Wiki — Chaotic Darkness formsIndependent guide
Continue your journey
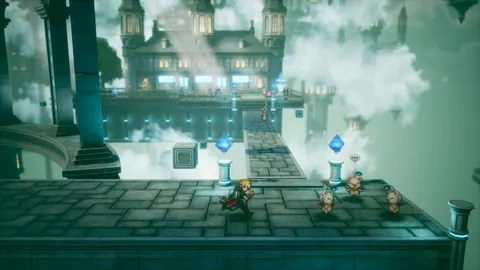
Story walkthrough
Follow the main objectives across all eight chapters, with the shipyard lever answer, key-card progression, Arcane Library requirements and final battle preparation.
Open guide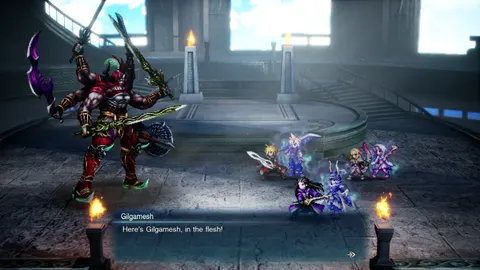
Boss guide hub
Find 57 encounter guides by story chapter, enemy, element or mechanic, including all 15 Cave Masters and all 12 Legendary Arms trials, with story rematches kept distinct.
Open guide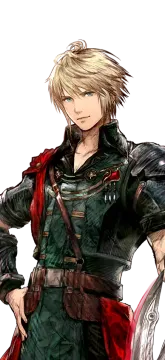
Rain — A New Leaf
Finish Rain’s A New Leaf personal quest after chapter 7, from Raegen on the Enterprise to Grandshelt, Mitra and Waterfall Way.
Open guide
Chapter 7 — Pharm & Wandering Lands
Follow the Pharm airship event, defeat Aether’s rematch, gather Ayaka’s lead in Sian and cross the mountain and forest to Umbra.
Open guide